Friday, March 30, 2012

My New Bag


For several years now, when spring arrives, I make myself a new bag. I do this because I love to make bags and the best way to show what I do is to carry what I make. When people ask me what I do, I just show them my bag and say, "I make stuff like this," and that usually impresses them.

Year ago, I designed this bag. I don't remember where the inspiration came from, but this is what I made. This was probably the bag that launched my designing process. The front and back was a fabric placemat or napkin and the solid pieces came from a woman's gaucho pants, I found both pieces for real cheap at a thrift store.


I used velcro for a closure.


The strap is narrower than the side piece.
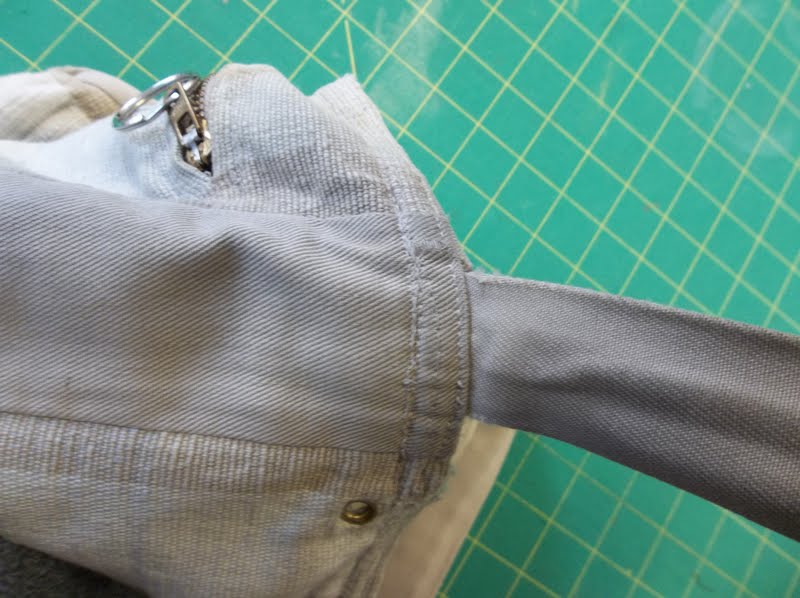
Doesn't look good.

In deciding what my new bag for this year would be, I came across this old one and I realized that I really liked this design. It's very simple and I even made a zippered pocket in the front. I decided to replicate this and really like how it turned out.


I used red for the lining and usually, my pockets are the same color as the main fabric, but in this case, I wanted the lining all red so it would stand out. I also made a large inner pocket to hold stuff, I didn't make an inner pocket for the old bag.  


I put in hidden magnets at the top to hold everything secure.


This time, I made the straps the same size as the side pieces, so it looks more cohesive. The rectangle metal piece really adds a nice touch.


Well, in using the bag for a couple of weeks, I realized that the hidden magnet was a bother. This magnet is strong, and every time I let go, it shut automatically. Every time I needed to open the bag, I needed 2 hands - I like to have easy access to my stuff. So, I took the bag apart and put in heavy duty snaps. I used a black sharpie to color the silver snap in the back and need to get a red sharpie to color the snaps on the inside. Also, I fixed the pockets - I sewed part of it so my cell phone would have its own place (the front pocket was too big for it). I also added a pen pocket to one side.
Much better!


I also made a matching purse - this is my Pursellet, something I designed years ago. It holds everything, coins, bills, and cards. I like to be matchy matchy.


So, this is my new bag for 2012.  My only problem is that the black fabric is attracting a lot of lint (not very pleasant to look at). I've tried rubbing a dryer sheet on the bag and even dampened the bag and threw it in the dryer - neither worked. Anyone know how to handle lint on black fabric? 

I really like this design so much that I've decided to make more to sell. I like the contrast of the solid and print fabric, I think others will like it too. 

Thanks for reading!!

Comments or questions are always welcomed. I would love to hear what you think of this post or any of my other posts. Thanks!

Thursday, March 15, 2012

Hydraulic Press for Herbs

I've been making herbal products from medicinal herbs for years. I have always struggled in trying to extract the oil from infused herbs. I've gone from using my hands to using cookie presses, a potato ricer and most recently, I did buy a press, but it still was a lot of effort to extract the oil from the herbs. Each time after I was finished, I would go to Jim and express my frustration. Well, he recently bought me a hydraulic press. He was either being really nice or he was tired of hearing me complain - I'm kidding, he was very nice to do this and it was totally unexpected. He always talked about maybe using a hydraulic press for my herbs and saw this as an opportunity to get one.


This is usually used in mechanical practices, but in my case, this is going to be my new herb press. It's basically a bottle jack that jacks down instead of up and using springs and a metal rod, it presses whatever you want it to. It is extremely heavy, I can't lift it let alone carry it - the only thing I can do is slide it back and forth, which is all that I'm planning to do with it other than pressing with it. Let me show you how it works.


These are what I will be using:
A metal bowl, coffee filter, pressing plate, and the bucket 
from a potato ricer.


This is some lavender I infused yesterday.


I put the coffee filter in the ricer bucket then place that into the metal bowl 
and poured out some of the lavender - not more than 3/4 full.


Next, I put the pressing plate on top and start jacking - the black center 
rod comes down and starts pressing.


See all that luscious lavender oil oozing out? (It smells heavenly in here) 


I strain it with a fine tea strainer and there it is. 
The white shadow is the plastic bag covering the press - I should've moved the bowl. 


I got this much lavender oil from 2 ounces of dried lavender and 8 ounces of oil - it's a little more than when I used my old press and the process was a lot easier and less messier.


The bowl I used didn't have a flat bottom, so you can see that I really 
pressed the heck out of the lavender.


Well, that's my new herb press - I plan to use it a lot now that I got the hang of it. Stay tuned for more herby goodness to come!

Thanks for reading!!

Comments or questions are always welcomed. I would love to hear what you think of this post or any of my other posts. Thanks!


Friday, March 2, 2012

White Cake with White Chocolate Whipped Ganache

My oldest daughter Dawn went to Evergreen State College in Olympia, Washington. During her 4 years there, she found a job working at Budd Bay Cafe. Heather, Dawn's younger sister, Heather and I would go and visit her at least once during the summer months and I became friends with Dawn's boss, Gail Fuller. Budd Bay has a great menu mostly featuring seafood, as they are right on the water, and their food is wonderful. Their desserts are just as lovely, and one dessert they had back then was a White Cake topped with a White Chocolate Whipped Ganache - it was to die for. Really.

One year, after our visit, I believe it was Heather, who found in the Joy of Cooking, a white cake recipe and a recipe to make white chocolate whipped ganache. I made it and it was almost like the one we had at Budd Bay - I made it several times after that (this was years before I became gluten free) as it became a popular request.

"Regular" white cake with white whipped  choc ganache


Well, Heather's birthday is today and when I asked her last week what kind of cake she wanted, she said, "Remember that white cake with the white chocolate ganache on top? I'd like that." So all day, Wednesday, I baked - 2 cakes, a 13" x 9" regular white cake and a 9" round gluten free white cake for me. I also made the white chocolate whipped ganache, which is really easy to do. I was concerned tho when it looked like the ganache wasn't coming together using my stand mixer (it has been years since I made this), I kept moving the head of the mixer up and down to get air into the ganache. I ended up at the end mixing it by hand so I could get it to come together. It finally came together and I was able to frost both cakes.

Both Jim and Heather said that the regular cake tasted great and the gluten free one was slightly on the dry side, but had great flavor. We had chocolate ice cream to go with our white cake.


Gf white cake with  white choc whipped  ganache


Happy Birthday Heather!!!!

Comments or questions are always welcomed. I would love to hear what you think of this post or any of my other posts. Thanks!