Thursday, July 11, 2013

Cutting My Own Hair

I've been needing a hair cut for a long time, a trim actually. The last cut I got was a medium length bob a while ago. My hair has changed within the last couple of years - it has thinned out more and the body and memory it used to have is gone. I do have about 3 permanent waves in my hair and if it's cut too short, they are very noticeable. My hair will not lie flat and the waves are very prominent - I don't like it. This last bob cut was nice, but it was short enough to notice the waves. I tried to grow it out and it took forever (longer hair is heavier and weighs down the waves) It's finally grown several inches, the ends are thin and needed a definite trim - the lack of funds have prevented me from doing that. So, being a do-it-yourself girl, I decided to get creative again.

Back in 2000 when my hair was shorter, several girls in the office I worked at were cutting their own hair, so I jumped on the bandwagon. I just grabbed my hair randomly, like I was holding on to a microphone, and cut the ends - it came out pretty good. Years ago I tried to look up "cutting own hair" online so I could try it again and hardly found anything. Yesterday I started thinking about it again and Goggled "how to cut own hair in long layers" which is what I wanted. I found tons of YouTube videos and ended up following this one.

Update: Video has been deleted. I found a picture tutorial of pretty much the same technique.


Here are the before and after shots.


I don't like the 'V' cut, so I just cut it straight across. I took off an inch at first, then after blow drying a little and seeing it, it took off another 1/2 inch. I then took the scissor and made small vertical cuts in the ends. The front didn't need anything, so I just did the ends. I think it came out pretty good. Not bad for a home job huh? What do you think?


Comments or questions are always welcomed. I would love to hear what you think of this post or any of my other posts. Thanks!

Tuesday, July 2, 2013

Smallish Messenger Bag

I am from Hawaii (now living in Washington State), and last Christmas I had asked for some Japanese themed fabric from Hawaii. My oldest daughter Dawn is living there now, and she sent me a bunch of really nice  fabric (Christmas 2011 I asked for Hawaiian themed fabrics, and got some really nice ones). This was one that she sent:
I think this fabric is gorgeous - it has rectangular panels of various Asian print, and the combo looks just great together. It was almost too nice to cut - the optimum word here is "almost". 


I decided to make a messenger bag for me. For those who know me, I am only 4'7" tall and a regular messenger bag is HUGE on me. My only solution is to make my own and since I know how to sew bags, I decided to make one for myself, and this is what I made.


 I basically used the same pattern to make this bag - I just had to design a flap that would match nicely.


 See, when you make your own bags, you can customize it however you want - size, pockets, etc. I wanted pockets under the flap on the outside of the bag to hold my cell phone, a pen, and some smaller essentials. I used gold thread to separate the larger pocket on the left side from the pen pocket, and black thread to separate the pen pocket from the cell phone pocket on the right side. I wanted it to look seamless and have the pattern unbroken, so I matched the fabric exactly. This is what I came up with - can you see the pockets?


Maybe this view is better:
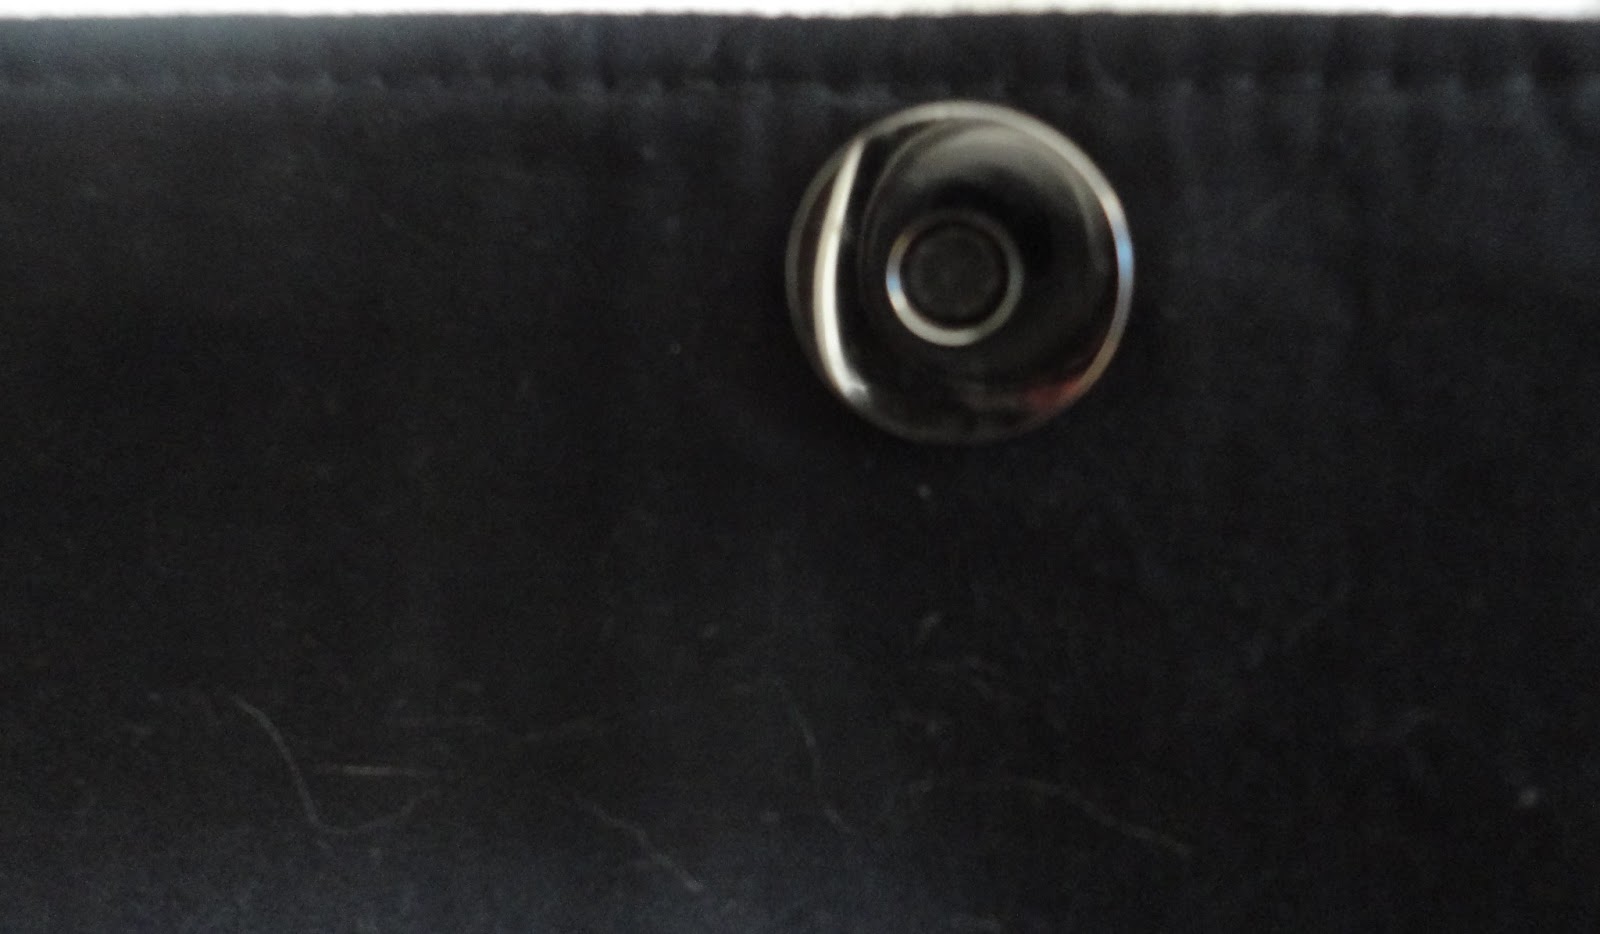
Note the magnet at the bottom - I used the thin part of the magnet because I didn't want much protrusion.


Here is the magnet for the flap - it's about 1/8" thick:


These are the inside pockets - I made 3. The larger one on the bottom is a full size pocket 8" x 12" - that one is for holding large papers or a magazine. The top pockets are the same size as the bottom except there is a seam down the center to create 2 pockets. 


I could have just measured the bag and sewed on the webbing exactly to my measurements, but I wanted to make it look like a real messenger bag, so I made the straps adjustable. That way should I ever want to make the straps shorter, I have that option. 


The other side I used the spacer to make it look decorative - I usually just sew the end into the top of         the bag.


Here is one side view. When sewing with a fabric that has a large pattern, you can manipulate the pattern to take advantage of the fabric print - just watch how your pattern placement is on the fabric so you can benefit from the fabric design - check twice before you cut. 


Here is the other side. By being strategic with my cuts, I was able to get the benefit of all the prints of this nice fabric.


Here is her back view (**note the top where the flap meets the bag). 


Here's the bottom view. I may go back and put feet on the bottom so that it's not resting on a dirty floor. I might also make a false floor for the inside to prevent sagging. Haven't decided yet if I want to do all that.


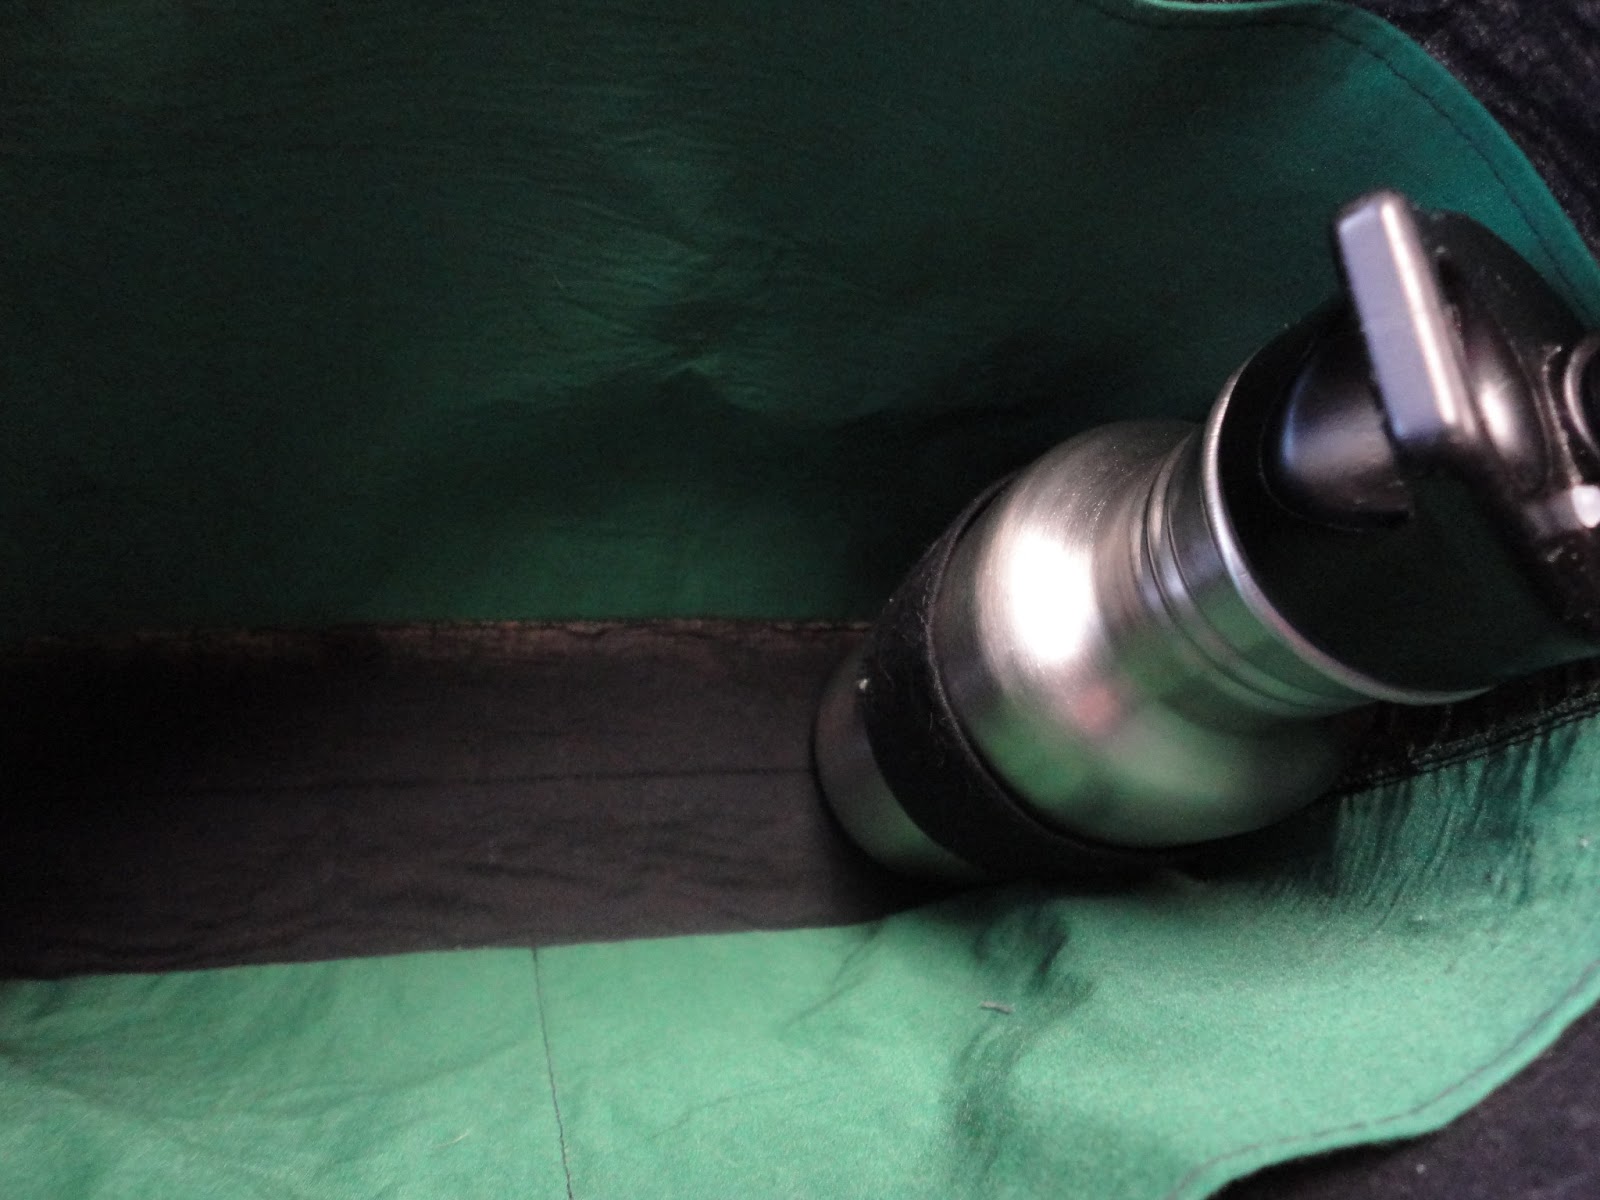
After completing the bag and marveling over it, I was thinking what if I want to carry my water bottle? It would probably fall so it would most likely be laying on its side and I didn't want the chance of water spilling, so I decided to sew in  a  2" x 8" strip to the side. That meant taking bag apart - including ripping out the the zig zag stitches and top stitches so I could sew that small piece to the side!
It wasn't easy to take apart with the long straps.


 So I undid everything and sewed the tab under the pocket on both sides.
This was all done the afternoon before I needed to take this bag with me to jury duty. I had a time crunch and was afraid I wasn't going to make it (I was also doing laundry too!). In my hurry, I ended up putting the lining in backwards - I wanted the magazine pocket to be in the back, but I put it in front, it does affect how it closes, but not by much. 


She did get completed that afternoon and took her to jury duty and she performed very well. The only down side was that I didn't take my water bottle, it was stupid actually. With a magazine and other necessities the water bottle made it very tight and I couldn't secure the flap with the magnet, so I took the water bottle, but left it in the car - should've just carried it, but oh well. 


Some negative points about the bag: 
  1. **If you look closely at where the flap meets the bag, you can see that I messed up and didn't get the match the strips color wise - that's ok, it still looks good. 
  2. Next time, I will make the flap longer so it can close securely when really full. 
  3. I might also make the bottom wider so it can accommodate a water bottle or other bulky items.
These are very minor and do not affect the performance of this bag at all. It's just stuff that I would do better next time - no one would notice these issues unless I pointed them out. Overall tho, I am very pleased.


 Here she is all all complete - how do we look?


If I decide to put feet on her, I'll come back and show you what it looks like - also if I make a false floor. Anyways, that's my new messenger bag. Let me know what you think.


Thanks for reading!!


Comments or questions are always welcomed. I would love to hear what you think of this post or any of my other posts. Thanks!

Sunday, June 16, 2013

How to Keep Your Shoe Tongue in Place


 Recently I bought some new shoes - Keen's. Usually when you buy something new, you don't expect to alter them (unless you're short, like me, and buy pants that are too long). These shoes have a bungee toggle and I thought they would be easy to slip and go, but no, it wasn't the case. Although these shoes fit like a glove, there is one problem, a huge problem . . .


See the tongue and  how it's sagging? It was very loosey goosey, no way to slip my foot in without using 2 hands - 1 to hold the tongue and the other to put the shoe on. This shoe doesn't have that loop on the tongue that you can lace through to keep the tongue in place. Also, when I wore the shoe, the tongue shifted to the side. Ideally, I should've returned the shoe, but it's been a long process (months) to find something good that fit me. See I have flat feet and need to wear sturdy shoes ALL THE TIME, even in the house. I ordered and returned six shoes from Zappos (it wasn't their problem, it was mine) - I got this one at a local shoe store. I went in to get my foot measured (Zappos said that I was ordering the wrong size), saw these and liked them. After bringing them home and wearing them around the house, I noticed the tongue problem.


So I Googled how to prevent shoe tongue from moving - surely someone has a cool tip, but I couldn't find any. I tho, did find this handy little thing, and thought, "How cool". Even tho the cost is under $5, it looked simple enough to make, so decide to make some - four actually. Here's how I did it . . .


Take a flexible tape measure and measure around your shoe tongue and add about 1 inch. Cut a piece of grosgrain ribbon that matches your shoe.


You'll want to measure about a 1/2 inch from the end and lightly draw a line using a contrasting pen. You will be overlapping the ends, so on the other side, draw another line a 1/2 inch from the end. Make sure that one line is on the top side of the ribbon and the other line is on the bottom side.


I cut a tiny piece of this tape and stuck it on one end and repeated for the other side.


Remember, it's the top of 1 side and the bottom of the other. Here is a visual to show you. 


Next you're going to wrap the two ends cinching close with the taped ends, leaving a good size gap (see next pic).


You'll want your ribbon to end up looking like this with a small loop on top.


Now take it to your sewing machine and sew a zig zag stitch over the seam, go over it a couple of times for insurance. I used contrasting thread because the shoe has pink in, you can use same color thread.


Go ahead and slip on your tongue catchers. Because of how wonky this tongue was, I decide to place 2 catchers on each side - the bottom one was made a little smaller, if you decide to make 2, adjust yours accordingly.


Now it's time to lace up! Follow this video when lacing through the catcher (use this tip when lacing thru shoes that have those premade loops on the tongue) . . . 


Instead of cris crossing over the tongue catcher, you will lace to the same side you came from - that's the trick to keeping the tongue in place.


This is how it should look when done.


Because I knew there was going to be a lot of wear and tear on the tongue, I decide to sew the center of the catcher to the tongue - I used a leather sewing needle, that top one had to go thru the rubber Keen icon and a leather needle made it so easy.


This is what the top of the shoe looks like after the catcher is sewn in place.


It's been about 3 weeks since I did this and I am impressed. The tongue on my shoes have stayed in place - this really works, I've been able to slip my feet in my shoe very easily. I am a happy girl!


Thanks for reading!!


Comments or questions are always welcomed. I would love to hear what you think of this post or any of my other posts. Thanks!

Wednesday, June 5, 2013

How to Tell Your Shampoo Bottle from Your Conditioner Bottle

Has this ever happened to you? You're in the shower, your hair is wet and your face is wet - you reach for the shampoo bottle and pour some in your hand only to realize it's conditioner! If you're like me, you're trying to open the conditioner bottle to put it back in so it's not wasted, and you're doing this soaking wet in the shower! Most of the shampoo and conditioner bottles sold today are the same shape, same color, and event have the same font - you have to pick it up to see which one you have.

Well, I figured out an easy way to tell them apart without having to read the bottle. Take a brightly colored rubber band, preferably a wide one (actually, any rubber band will do) and place it on one of your bottles, doesn't matter, whichever one you prefer. Now, each time you wash your hair, you won't accidentally pour the wrong one, you'll know the one with the rubber band is either the shampoo or conditioner - whichever one you designated with the rubber band. Easy peasy and no wasting!


Thanks for reading!!


Comments or questions are always welcomed. I would love to hear what you think of this post or any of my other posts. Thanks!

Wednesday, May 15, 2013

How to De-Sugar Crystallized Ginger

Crystallized ginger or candied ginger is widely known for it's healing properties for minor stomach issues.  The process to make crystallized ginger is a multiple step process starting with sugar and ending with more sugar. Most store bought crystallized ginger is always laced with a lot of that extra sugar and instead of tasting the ginger, you get a mouthful of sugar, I have never liked that. I was always blowing off the sugar or wiping off the sugar with the bag it was stored in - that's why last year, I started making my own.

Recently, I started buying it again because making it is a multi-step process and I'm lazy. I decided to try and figure out a way to remove that excess sugar coating without ruining the integrity of the ginger. I tried to boil it and it just got too gummy, I don't know if I boiled it too long, but I didn't like it. I then tried to rinse it under running water, that removed some, but there was still quite a bit of sugar still adhered to it. The next thing I tried was to put the ginger in a jar, add some cold tap water and shake the jar, that didn't do it. Then I thought, what if the water was heated? So I microwaved some water for about 40 seconds and did some jar shaking again and it worked. Now the ginger was "wet", not very palatable, so I Goggled how to dry candied fruit and came up with a great way to get the ginger to how I like it and I want to share this with you.

Along with your ginger, you will need:
a jar with a lid (a mason would be great, then you wouldn't need a glass cup)
a small broiler pan from your toaster oven or a cooling rack set in a cookie sheet
a colander
cooking spray
(optional) a glass measuring cup or something to heat water in the microwave
preheated oven to its lowest setting
timer

Put some water in your mason jar or measuring cup and heat up for about 40 seconds. Place a small handful of ginger in the jar and if using a measuring cup, pour in the heated water - you want the water level to be just below the ginger.


Place the cap on the jar and over the sink, shake up and down vigorously for a couple of seconds - you want to agitate the ginger against each other to remove the sugar.


Pour out the ginger in your colander and repeat the previous steps until all your ginger has been processed. Shake your colander to remove excess water. Dry out the jar.


Spray your broiling pan with cooking spray then spread the ginger in a single layer (my broiling pan has a lip on the bottom, so I turn it upside down, the lip will prevent the ginger from falling off). Place pan in your oven and time for about an hour.


When timer goes off, remove pan from your oven and turn over the ginger (I just use my fingers, you can use tongs or chopsticks) - the underside is still wet. Let it go for another 2-3 hours, set your timer! After 2 hours, check to see how your ginger feels - touch it should be dry with no sugar on it. If it still feels wet, put it back in the oven for another hour or so. When your ginger feels dry, take it out of the oven and cool.


Store the finished ginger in your jar. You could probably store this in your cupboard, but I keep mine in the frig - tastes good when it's cold. I don't know how long it will keep, I seem to buy just enough for the week and I always eat it before the week is over! I took this pic a day after I started writing this and you can see I ate quite a few. My crystallized ginger is very similar to Trader Joe's Uncrystallized Candied Ginger.


So, removing all that excess sugar from store bought crystallized ginger is that easy. Yeah it's a multi-step process, but at least I'm not eating all that extra sugar that my body doesn't need. Give this a try and let me know how you like it or if you do anything different.


Happy Tummy!!

09/25/13 Update: I ensure the ginger is as dry as possible and I now bake each side for approximately 45 minutes each. 


Comments or questions are always welcomed. I would love to hear what you think of this post or any of my other posts. Thanks!