Sunday, July 28, 2013

How to Get Your Kitchen Sink to Sparkle


I cleaned my sink yesterday and it was pretty gross, I have a double sink - disposal on one side and a regular side. The drain on the regular side was either not installed properly or is the wrong side - there is a small gap between the sink drain fitting and the sink so a lot of food debris gets caught and if it's not scrubbed, it can get pretty nasty (and smelly!). I had a cut piece of lemon that I used for a recipe and it was sitting in the sink, waiting to be disposed of. Now every time I put large pieces of lemon of any citrus fruit in my disposal, it just tends to roll around with the blades of the disposal doing this dance and it doesn't really break it up like it's supposed to. Don't know if the fruit is too thick or the blades are dull - the disposal really isn't that old.

As I'm starting to clean the sink with little bit of Comet powder cleanser, a toothbrush and a scrubber sponge, I kept looking at that lemon, I was thinking of how nice lemon smells and how lemon is used in a lot of cleaning applications. I instinctively picked up the lemon and started scrubbing the sink with it. I used the edge of the lemon to get under that awful gap between the drain and the sink, and it was doing a pretty good job - I ditched the toothbrush and sponge and just used the lemon. I scrubbed the floor of the sink, the walls, even inside the drain well - and it all smelled so lemony. The oil from the lemon was making the sink shiny and the waste water was turning yellow from the lemon so I knew the lemon was doing its thing (if things are really bad in your sink, you could also sprinkle some salt and use that as an abrasive).


I have a wire trap the sits on top of the drain to prevent large food particles or utensils from going down the drain and that can get pretty nasty too, so I took the lemon and started scrubbing it.


By the time I was done, the lemon was completely spent - it had given me all it had, but, I had one more task for this lemon. The insides were totally loose so I removed it and tore the peel into small pieces and threw them down the disposal and turn on the disposal so that whatever was left of the lemon could deodorize the inside of the disposal.


See, nice and sparkly!!


So, next time you have a cut piece of lemon, or any citrus, don't throw it out - try my new idea and watch your kitchen sink shine!


Happy Scrubbing!!!!


Comments or questions are always welcomed. I would love to hear what you think of this post or any of my other posts. Thanks!

Sunday, July 21, 2013

Easy No Bake Dessert - Gluten Free and Dairy Free

This is a perfect dessert for summer. You make some whipped cream, use frozen berries, and sprinkle some cereal on top. It's as easy as that. I always try to have some whipped cream in my frig, ready to go anytime I want a sweet treat in the evenings - you really don't need a lot for one dessert and one can of coconut milk will make enough whipped cream to last you a while.


Ingredients:  
Canned Coconut Milk
Honey or Maple Syrup
Vanilla Extract
Frozen Berries
Gluten Free Cinnamon Chex

The first thing you do is to make your whipped cream. 

After you have your whipped cream made, you take a spoonful and put it in the bottom of your dish - spread it out some with your spoon.

Sprinkle on your frozen berries, I cut up the strawberries into nice eatable pieces.

Take another spoonful of whipped cream and plop it on your berries.

Then you take a handful of gluten free cinnamon Chex and crush them over the top of the whipped cream.

Grab a spoon and enjoy your easy no bake dessert!

Happy Eating!!


Comments or questions are always welcomed. I would love to hear what you think of this post or any of my other posts. Thanks!

Wednesday, July 17, 2013

Fried Hot Dog with Bacon Dinner


Yesterday I watched The Chew and saw Michael Symon make this recipe and I remembered that years ago, I used to make this exact recipe - except that I used to bake my bacon wrapped, cheese stuffed hot dog - my husband and girls loved it. I have since started eating better, plus I'm gluten free, so inspired by Michael's recipe, I decided to make a healthier version.

I took four nitrate free(nf) hot dogs, cut them in half lengthwise and put them cut side down in my pan to sear them up like Daphne Oz did in her recipe. I didn't get mine totally crispy, but after they had nice color on them, I removed them to my cutting board so I could saute three slices of chopped nf bacon, onions, and crimini mushrooms. I then cut up the hot dogs into four pieces each and added them back to the pan with the rest of the ingredients. I thought of adding a splash of white wine and some dijon mustard, but decided to keep it simple and just added some freshly ground pepper - didn't need salt because the hot dog and bacon already has salt. I also sauteed some kale and swiss chard to serve along side and made some quinoa, I included some red pickled peppers that I picked up from the olive bar.

This was a really yummy and simple dinner - took me back to the days of eating bacon wrapped, cheese stuffed hot dogs when my two daughters were younger. So next time you want some bacon with hot dogs, try my recipe and I'm sure you agree that's it's very yummy!

Thanks for reading!!


Comments or questions are always welcomed. I would love to hear what you think of this post or any of my other posts. Thanks!


Thursday, July 11, 2013

Cutting My Own Hair

I've been needing a hair cut for a long time, a trim actually. The last cut I got was a medium length bob a while ago. My hair has changed within the last couple of years - it has thinned out more and the body and memory it used to have is gone. I do have about 3 permanent waves in my hair and if it's cut too short, they are very noticeable. My hair will not lie flat and the waves are very prominent - I don't like it. This last bob cut was nice, but it was short enough to notice the waves. I tried to grow it out and it took forever (longer hair is heavier and weighs down the waves) It's finally grown several inches, the ends are thin and needed a definite trim - the lack of funds have prevented me from doing that. So, being a do-it-yourself girl, I decided to get creative again.

Back in 2000 when my hair was shorter, several girls in the office I worked at were cutting their own hair, so I jumped on the bandwagon. I just grabbed my hair randomly, like I was holding on to a microphone, and cut the ends - it came out pretty good. Years ago I tried to look up "cutting own hair" online so I could try it again and hardly found anything. Yesterday I started thinking about it again and Goggled "how to cut own hair in long layers" which is what I wanted. I found tons of YouTube videos and ended up following this one.

Update: Video has been deleted. I found a picture tutorial of pretty much the same technique.


Here are the before and after shots.


I don't like the 'V' cut, so I just cut it straight across. I took off an inch at first, then after blow drying a little and seeing it, it took off another 1/2 inch. I then took the scissor and made small vertical cuts in the ends. The front didn't need anything, so I just did the ends. I think it came out pretty good. Not bad for a home job huh? What do you think?


Comments or questions are always welcomed. I would love to hear what you think of this post or any of my other posts. Thanks!

Tuesday, July 2, 2013

Smallish Messenger Bag

I am from Hawaii (now living in Washington State), and last Christmas I had asked for some Japanese themed fabric from Hawaii. My oldest daughter Dawn is living there now, and she sent me a bunch of really nice  fabric (Christmas 2011 I asked for Hawaiian themed fabrics, and got some really nice ones). This was one that she sent:
I think this fabric is gorgeous - it has rectangular panels of various Asian print, and the combo looks just great together. It was almost too nice to cut - the optimum word here is "almost". 


I decided to make a messenger bag for me. For those who know me, I am only 4'7" tall and a regular messenger bag is HUGE on me. My only solution is to make my own and since I know how to sew bags, I decided to make one for myself, and this is what I made.


 I basically used the same pattern to make this bag - I just had to design a flap that would match nicely.


 See, when you make your own bags, you can customize it however you want - size, pockets, etc. I wanted pockets under the flap on the outside of the bag to hold my cell phone, a pen, and some smaller essentials. I used gold thread to separate the larger pocket on the left side from the pen pocket, and black thread to separate the pen pocket from the cell phone pocket on the right side. I wanted it to look seamless and have the pattern unbroken, so I matched the fabric exactly. This is what I came up with - can you see the pockets?


Maybe this view is better:
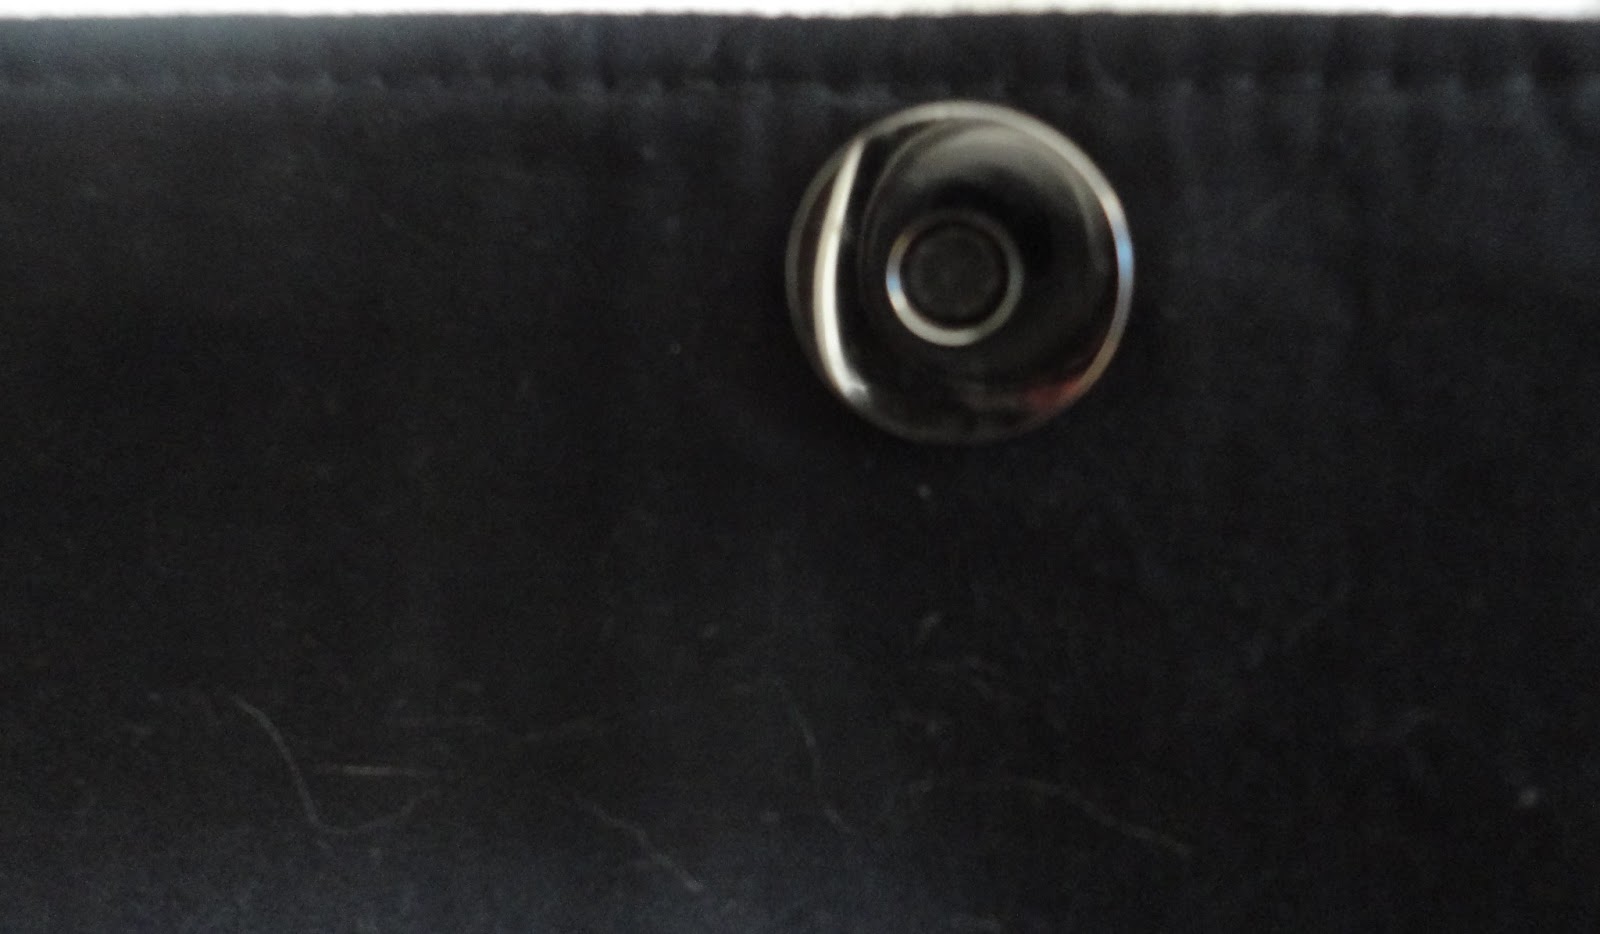
Note the magnet at the bottom - I used the thin part of the magnet because I didn't want much protrusion.


Here is the magnet for the flap - it's about 1/8" thick:


These are the inside pockets - I made 3. The larger one on the bottom is a full size pocket 8" x 12" - that one is for holding large papers or a magazine. The top pockets are the same size as the bottom except there is a seam down the center to create 2 pockets. 


I could have just measured the bag and sewed on the webbing exactly to my measurements, but I wanted to make it look like a real messenger bag, so I made the straps adjustable. That way should I ever want to make the straps shorter, I have that option. 


The other side I used the spacer to make it look decorative - I usually just sew the end into the top of         the bag.


Here is one side view. When sewing with a fabric that has a large pattern, you can manipulate the pattern to take advantage of the fabric print - just watch how your pattern placement is on the fabric so you can benefit from the fabric design - check twice before you cut. 


Here is the other side. By being strategic with my cuts, I was able to get the benefit of all the prints of this nice fabric.


Here is her back view (**note the top where the flap meets the bag). 


Here's the bottom view. I may go back and put feet on the bottom so that it's not resting on a dirty floor. I might also make a false floor for the inside to prevent sagging. Haven't decided yet if I want to do all that.


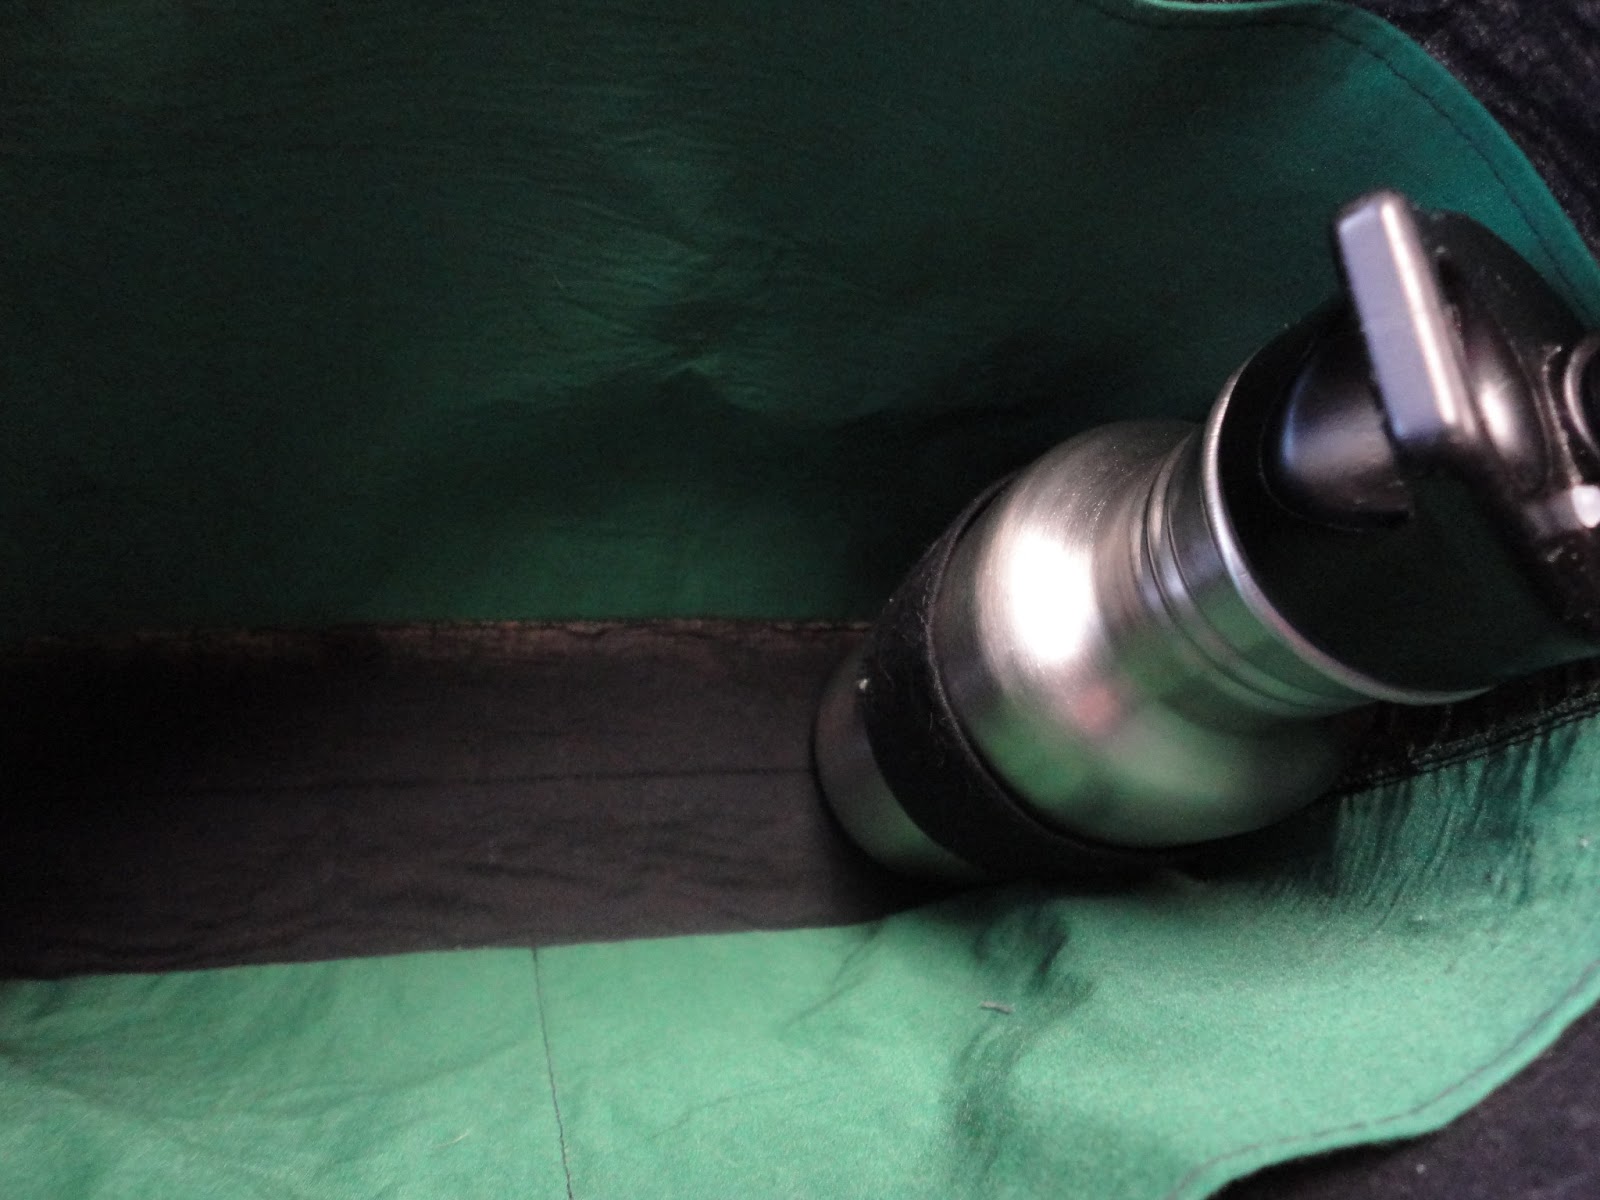
After completing the bag and marveling over it, I was thinking what if I want to carry my water bottle? It would probably fall so it would most likely be laying on its side and I didn't want the chance of water spilling, so I decided to sew in  a  2" x 8" strip to the side. That meant taking bag apart - including ripping out the the zig zag stitches and top stitches so I could sew that small piece to the side!
It wasn't easy to take apart with the long straps.


 So I undid everything and sewed the tab under the pocket on both sides.
This was all done the afternoon before I needed to take this bag with me to jury duty. I had a time crunch and was afraid I wasn't going to make it (I was also doing laundry too!). In my hurry, I ended up putting the lining in backwards - I wanted the magazine pocket to be in the back, but I put it in front, it does affect how it closes, but not by much. 


She did get completed that afternoon and took her to jury duty and she performed very well. The only down side was that I didn't take my water bottle, it was stupid actually. With a magazine and other necessities the water bottle made it very tight and I couldn't secure the flap with the magnet, so I took the water bottle, but left it in the car - should've just carried it, but oh well. 


Some negative points about the bag: 
  1. **If you look closely at where the flap meets the bag, you can see that I messed up and didn't get the match the strips color wise - that's ok, it still looks good. 
  2. Next time, I will make the flap longer so it can close securely when really full. 
  3. I might also make the bottom wider so it can accommodate a water bottle or other bulky items.
These are very minor and do not affect the performance of this bag at all. It's just stuff that I would do better next time - no one would notice these issues unless I pointed them out. Overall tho, I am very pleased.


 Here she is all all complete - how do we look?


If I decide to put feet on her, I'll come back and show you what it looks like - also if I make a false floor. Anyways, that's my new messenger bag. Let me know what you think.


Thanks for reading!!


Comments or questions are always welcomed. I would love to hear what you think of this post or any of my other posts. Thanks!